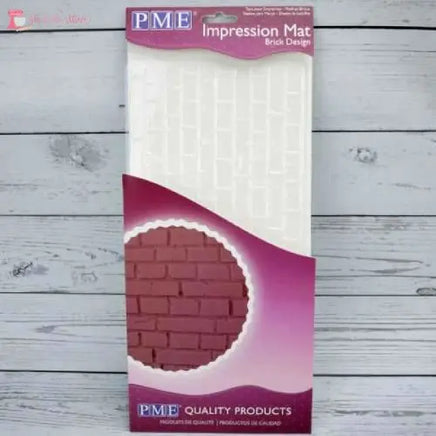
PME Impression Mat - Brick
Create realistic brick patterns with the PME Impression Mat - Brick. Made of high-quality materials, this mat is designed to easily impress brick lines onto any surface. Perfect for adding texture to cakes, cookies, and other baked goods. Impress your clients and guests with professional-looking creations every time.
PME Top Quality Impression Mat - Fantastic for creating brick effects for cakes - Sizes approx 150mm x 305mm or 6" x 12" - Great for creating stunning effects on cakes. Use with fondant, gumpaste or marzipan
Flexible for easy wrapping around your cake. Extra large size means no worrying about trying to line up the pattern mulitple times.
Using a fondant impression mat is a great way to add texture and decorative patterns to your fondant-covered cakes, cookies, and other baked goods. Here's a step-by-step guide on how to use one:
-
Prepare Your Fondant: Roll out your fondant on a clean, smooth surface using a rolling pin. Make sure it's rolled out to an even thickness, typically around 1/8 to 1/4 inch thick, depending on your preference.
-
Prepare the Impression Mat: Lay the fondant impression mat on your work surface with the textured side facing up. Some impression mats have designs on both sides, so make sure you're using the side you want to imprint onto your fondant.
-
Lightly coat the mat with Sno Creme (Optional): To prevent sticking, you can lightly coat the impression mat with Sno Creme. This can help the fondant release more easily from the mat after imprinting.
-
Place the Fondant on the Mat: Carefully lift your rolled-out fondant and place it onto the impression mat, positioning it so that the entire surface of the fondant is in contact with the textured pattern on the mat.
-
Press Firmly: Using a rolling pin, gently but firmly roll over the fondant-covered impression mat. Apply even pressure to ensure that the texture of the mat is transferred onto the fondant.
-
Check for Even Imprint: After rolling, carefully lift one edge of the fondant to check if the impression has been transferred evenly across the entire surface. If needed, you can gently roll over any areas that may not have imprinted well.
-
Remove the Fondant from the Mat: Once you're satisfied with the imprint, carefully peel the fondant away from the impression mat. Take your time and work slowly to avoid distorting the pattern.
-
Trim and Shape: Use a sharp knife or fondant cutter to trim the fondant to the desired size and shape for your cake or dessert.
-
Apply to Your Cake or Dessert: Carefully lift the imprinted fondant and place it onto your cake or dessert, gently smoothing it down to adhere it to the surface.
-
Further Decoration (Optional): Once the imprinted fondant is in place, you can further decorate your cake or dessert with additional fondant accents, piping, or other embellishments as desired.
-
Allow to Set: Let your decorated cake or dessert set for a little while before serving to ensure everything stays in place.
-
Serve and Enjoy!: Once everything is set and looking beautiful, it's time to slice and serve your delicious creation!
Using fondant impression mats can add a professional-looking finish to your baked goods with relatively little effort. Experiment with different textures and designs to create unique and stunning decorations
Handwash in warm soapy water.
The Cake Mixer - Aucklands Cake Decorating Supply Experts